
We use a variety of NAS drives for storage in our Home Lab.
| Device | Model | Storage Capacity | RAID Level | Purpose | Network Interface |
|---|---|---|---|---|---|
| NAS-1 | Synology RS2421RP+/RX1223RP | 272 TB HDD | RAID-6 | Backups and Snapshot Replication | Dual 10 GbE Optical |
| NAS-2 | Synology RS2421RP+ | 145 TB HDD | RAID-6 | Video Surveillance and Backups | Dual 10 GbE Optical |
| NAS-3 | Synology RS1221+/RX418+ | 112 TB HDD/SSD | RAID-5&6 | Media Storage and DVR | 10 GbE Optical |
| NAS-4 | Synology RS2421RP+/R1223RP | 290 TB HDD | RAID-6 | Backups and Snapshot Replication | Dual 10 GbE Optical |
| NAS-5 | Synology FS2017+ | 17 TB SSD | RAID F1 | High-Speed Storage for Video Editing & TimeMachine BUs | 25 GbE Optical |
| NAS-6 | Synology DS1621xs+/DX517 | 116 TB HDD | RAID-5 | General Purpose Storage | Dual 10 GbE Optical |
| NAS-7 | Dual Synology RP1221+ in High-Availability configuration | 24 TB SSD | RAID-5 | VM and Docker Volumes | 10 GbE Interface |
| NAS-10 | Dell Server-based File Server using ZFS | 23 TB SAS SSD | RAID-10 | High-Speed Scratch Storage | 25 GbE Optical |
| NAS-11 | Raspberry Pi NAS | 2 TB NVMe | n/a | Experimentation | 2.5 GbE |
| NAS-12 | Raspberry Pi NAS | 3.5 TB SSD | RAID-0 | Experimentation | 2.5 GbE |
The table above lists all of the NAS drives in our Home Lab. Most of our production storage is implemented using Synology NAS Drives. Our total storage capacity is just over 1 Petabyte. Our setup also provides approximately 70 TB of high-speed solid-state storage.
Systems with Dual Optical interfaces are configured as LACP LAGs to increase network interface capacity and improve reliability.
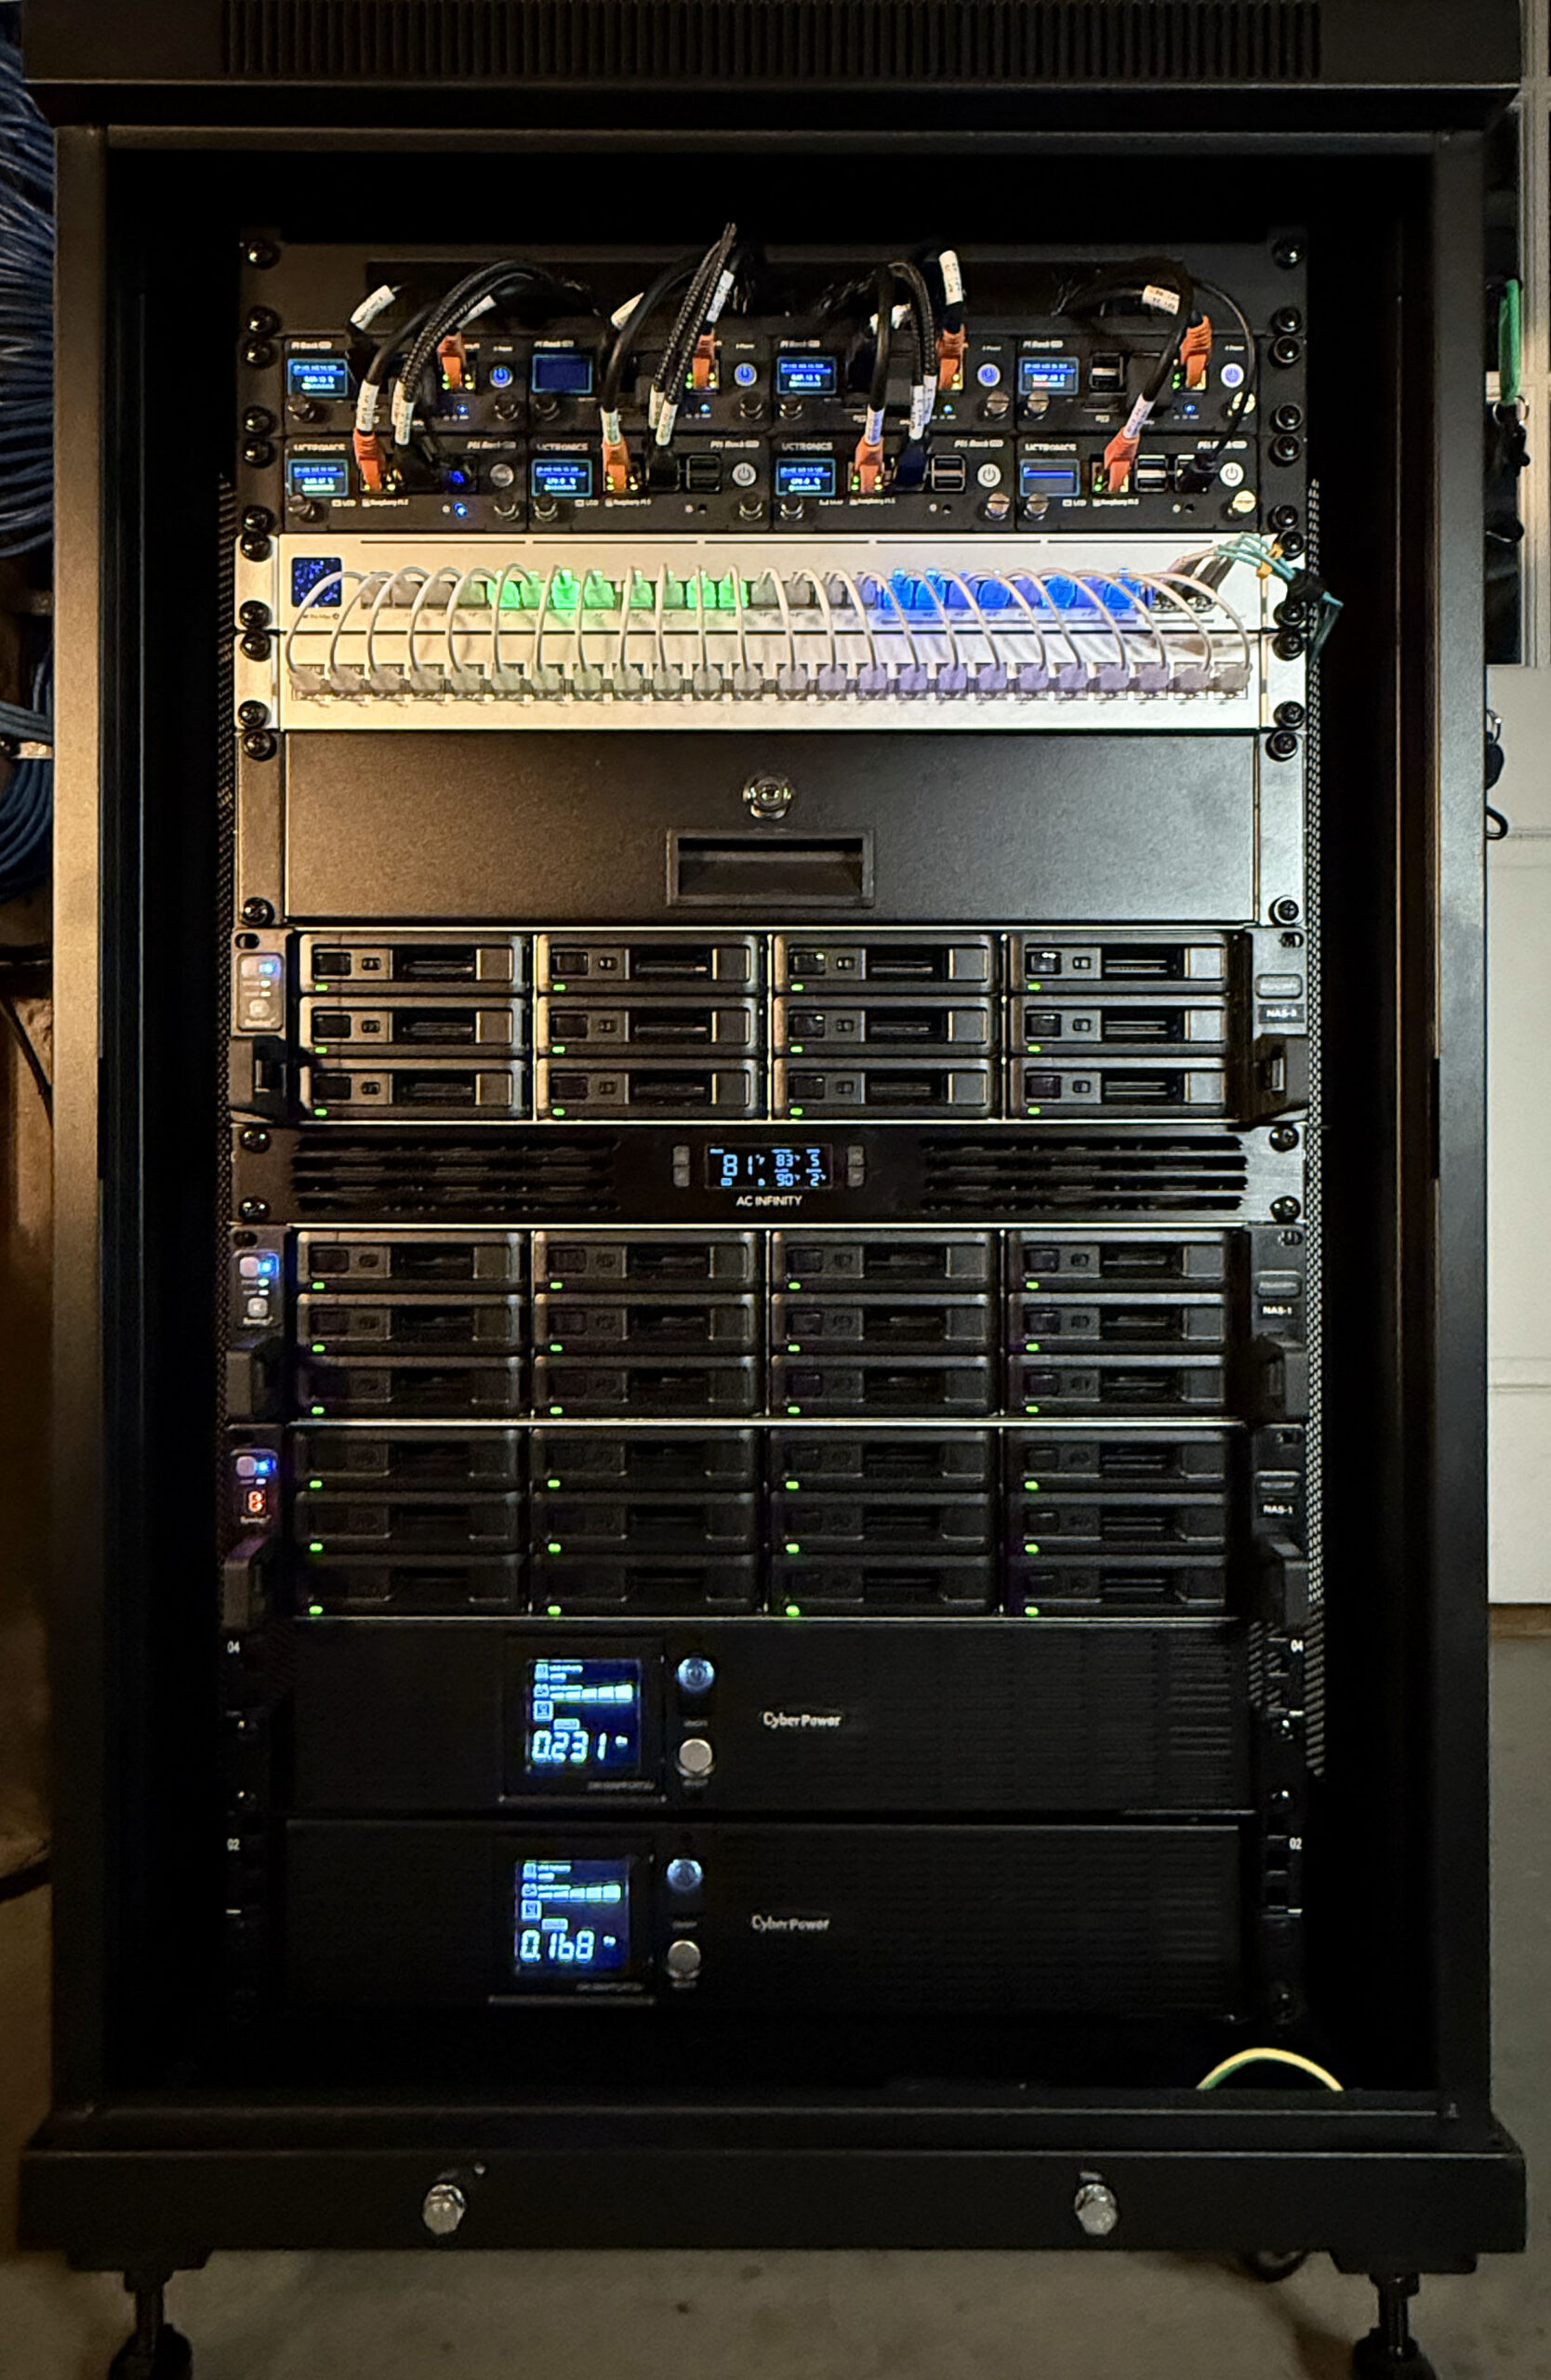
Hardware and Power
We have moved to mostly rack-mounted NAS drives to save space and power. The picture above shows one of our racks which contains Synology NAS drives. We have also opted for Synology Rack Mount systems with redundant power supplies to improve reliability. Our racks include dual UPS devices to further enhance reliability.
Basic Setup and Configuration
We cover some details of configuring our Synology NAS devices running DSM7.2 here.
Multiple VLANs and Bonds on Synology NAS
Our NAS devices use pairs of ethernet connections configured as 802.3ad LACP bonded interfaces. This approach improves reliability and enhances interface capacity when multiple sessions are active on the same device. DSM supports LACP-bonded interfaces on a single VLAN. This can be easily configured with the DSM GUI.
A few of our NAS drives benefit from multiple interfaces on separate VLANs. This avoids situations where high-volume IP traffic needs to be routed between VLANs for applications such as playing media and surveillance camera recording. Setting this up requires accessing and configuring DSM’s underpinning Linux environment via SSH. The procedure for setting this up is explained here and here.
Creating a RAM Disk
You can create a RAM disk on your Synology NAS by creating a mount point in one of your shares and installing a shell script to run when the NAS boots to create and mount a RAM disk. If your mount point is in a share on your Storage Pool on volume1 named Public and is called tmp then –
#!/bin/sh
mount -t tmpfs -o size=50% ramdisk /volume1/Public/tmp
will create a RAM disk that uses 50% of the available RAM on your NAS and is accessible as /volume1/Public/tmp by packages running on your NAS. The RAM disk will be removed when you reboot your NAS so you’ll need to run the command above each time your NAS boots. This can be scheduled to run on boot using the Synology Task Scheduler.